
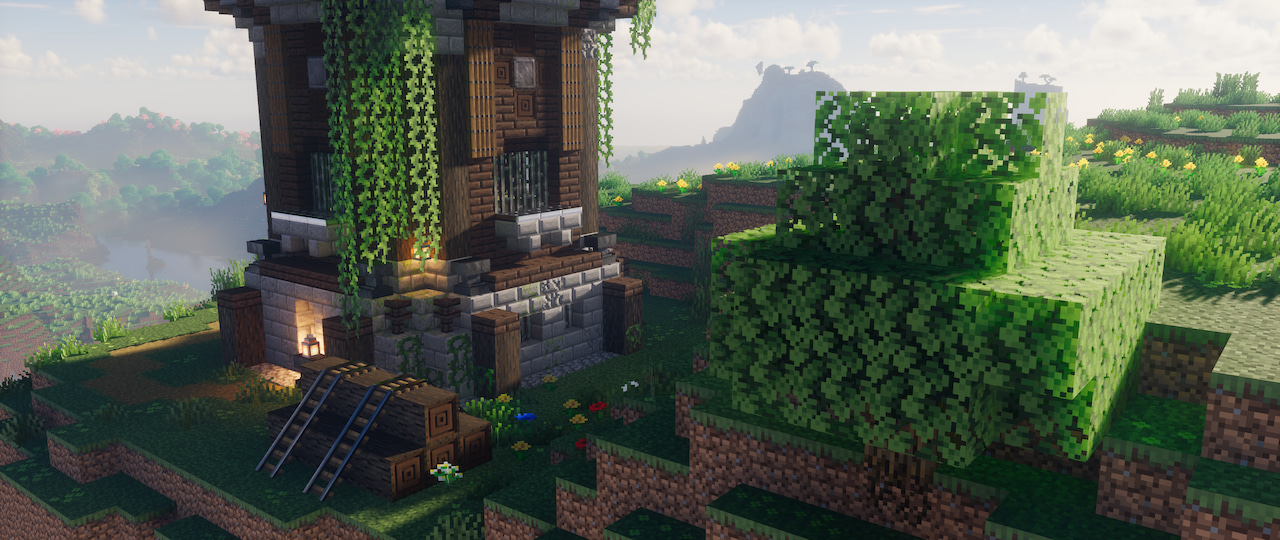
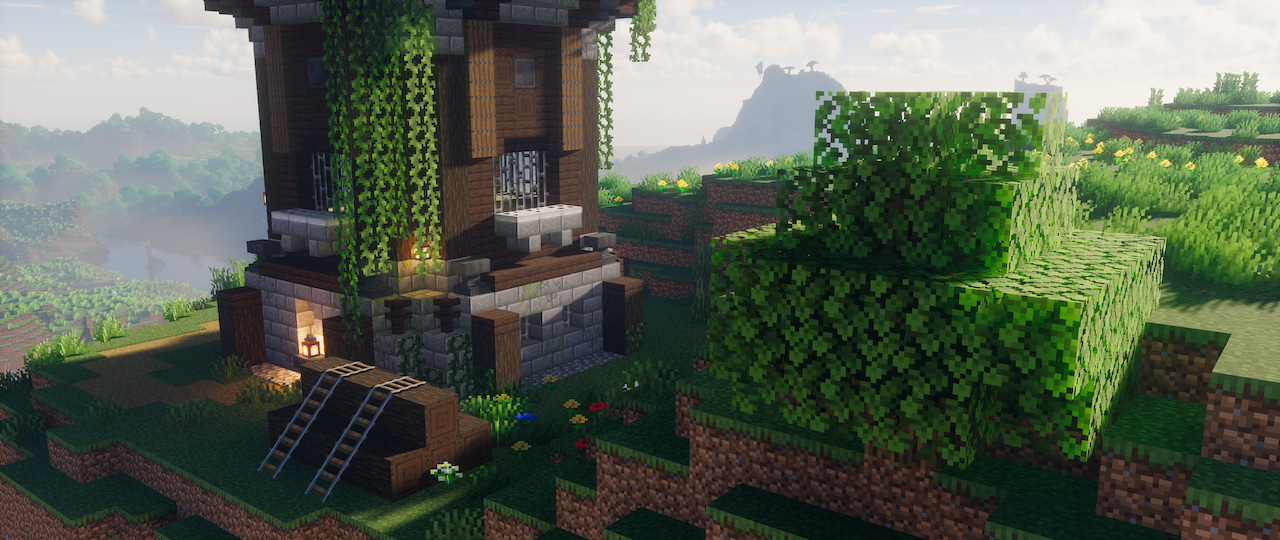
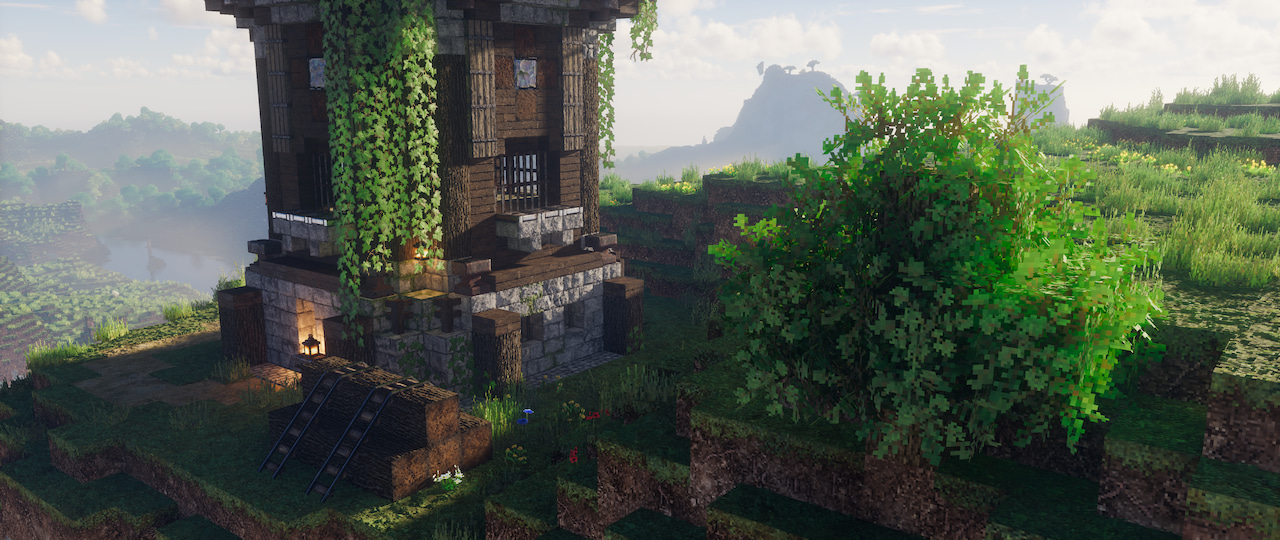
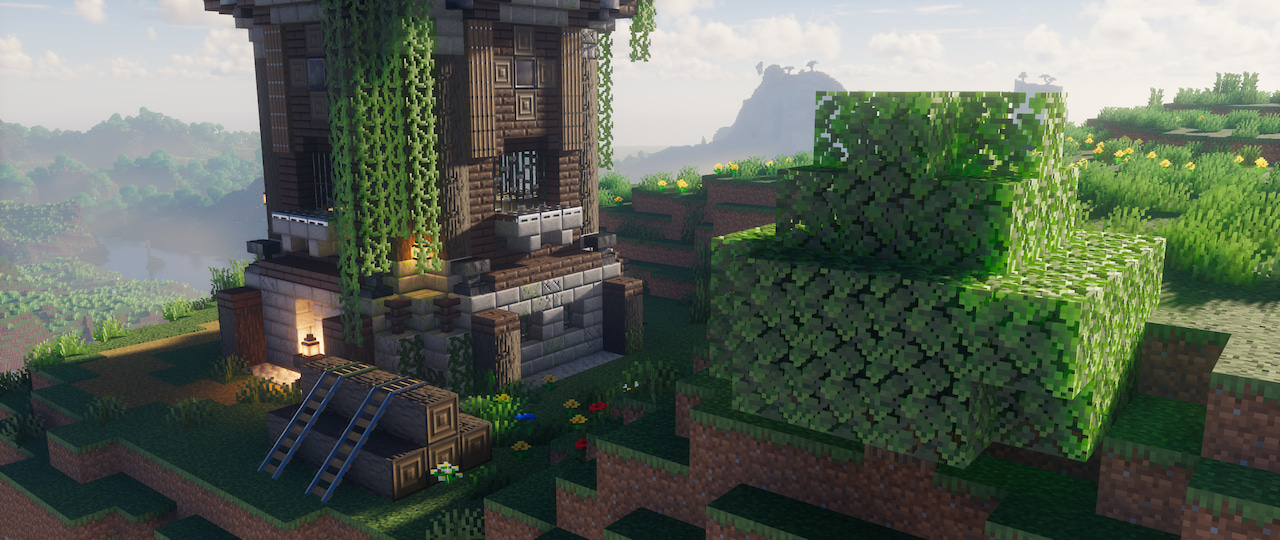
Shot by moyevka
Summary
| Feature | Supported |
|---|---|
| Vanilla Photo Mode | No |
| Hotsampling | Yes |
| DSR | Yes |
| Custom Aspect Ratios | Yes |
| Reshade | Yes (OpenGL, see notes) |
| Ansel | No |
| Graphics API | OpenGL |
| Game version | 1.18.2 |
This guide is for the Java Edition of Minecraft. Not to be confused with Bedrock Edition, an entirely different multi-platform version of the game.
Setup
Tools aren't necessarily required for Minecraft, as the majority of shots can be taken vanilla. Here are some quick bindings to get you started.
| Key | Description |
|---|---|
| F1 | toggle HUD |
| F2 | capture screenshot |
| F3 | toggle debug overlay |
Commands
Opening chat with t allows you to type in all kinds of commands. Here are some useful ones:
| Command | Description |
|---|---|
/gamemode creative |
puts you in creative mode |
/gamemode spectator |
puts you in spectator mode |
/gamerule doDaylightCycle false |
disables sun/moon movement |
/gamerule doWeatherCycle false |
disables weather changes |
/time set [number] |
sets time of day |
/kill @e[type=!player] |
kills all mobs |
Spectator mode can be very helpful as you can noclip through blocks and change fly speed with the scrollwheel. It also stops shaderpacks from rendering your shadow.
Some worlds you download may not come with cheats enabled, preventing the use of these commands. You'll need a save editor like NBTExplorer to edit the world file and enable cheats. NBTExplorer should find your save files by default. Open the downloaded map's folder, open level.dat and look for allowCommands. Change that to 1, then Save All Modified Tags (third icon in the top row).
Improving performance
Minecraft doesn't exactly run well, even in entirely vanilla situations. You can attempt to boost performance by allocating more RAM to Minecraft, through some JVM arguments. In the Minecraft Launcher, head to the Installations tab, hover over the ... and edit your install. Under More Options, change -Xmx2G to something like -Xmx4G or higher. The number sets how much RAM the game's allowed to use, so -Xmx4G would be 4GB. You can set it as high as your computer allows, I have mine at -Xmx8G.
JVM arguments can get pretty complex, this reddit post about modded Minecraft and memory consumption provides a much more elaborate set of arguments complete with explanations for each.
Mods such as OptiFine and Sodium exist that revamp how Minecraft renders to dramatically improve performance as well. You can install them as is, but we'll be looking into how they can also be used to improve how the game looks right below.
Shaders
The magic sauce that makes Minecraft not look like Minecraft, shaders overhaul the game's look entirely, giving it everything from dynamic shadows to path-traced lighting.
Shader Hosts
These mods are required for shaders. Pick and install only one.
-
OptiFine
OptiFine is an optimisation mod that adds a large number of visual features while improving performance. It is currently the mod shaders are written around, which makes it the obvious choice when you want to play with shaders. However, it is notoriously closed-source, which has spurred on development of alternative mods. -
Iris & Sodium
Part of the new wave of open-sourced Minecraft modding, Iris is an extension to the optimisation mod Sodium, allowing that to load shaders as well. Shader support with Iris is varied, with some shaderpacks poorly supported. -
Focal Engine (In development)
Outright replacing Minecraft's renderer with a custom solution, Focal Engine attempts to bring Minecraft into Vulkan with support for a much larger range of graphics options. It is currently deep in development and not a viable option, but is worth mentioning nonetheless.
Shaderpacks
These are the shaders themselves. They are typically installed to C:\Users\user\AppData\Roaming\.minecraft\shaderpacks. If the folder doesn't exist, create it. Here are some recommendations:
Kappa
Kappa
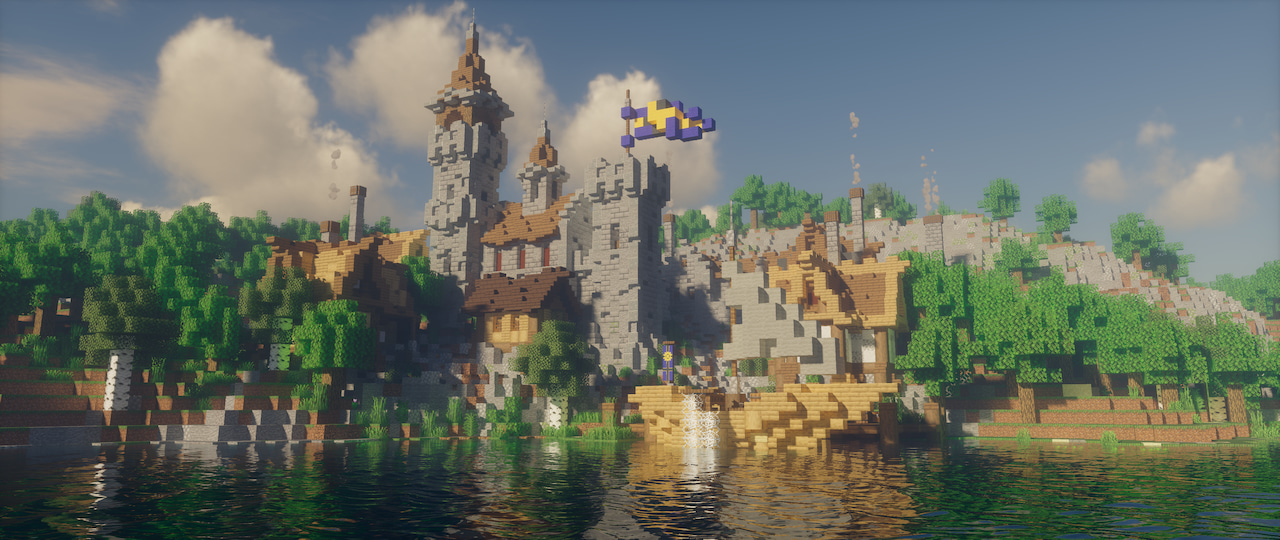
Vanilla
The Kappa Shader by RRE36 is a realistic shaderpack full of features like screenspace raytracing. Currently one of the best out there, IMO. (Shot on v4.2)
SEUS PTGI
SEUS PTGI
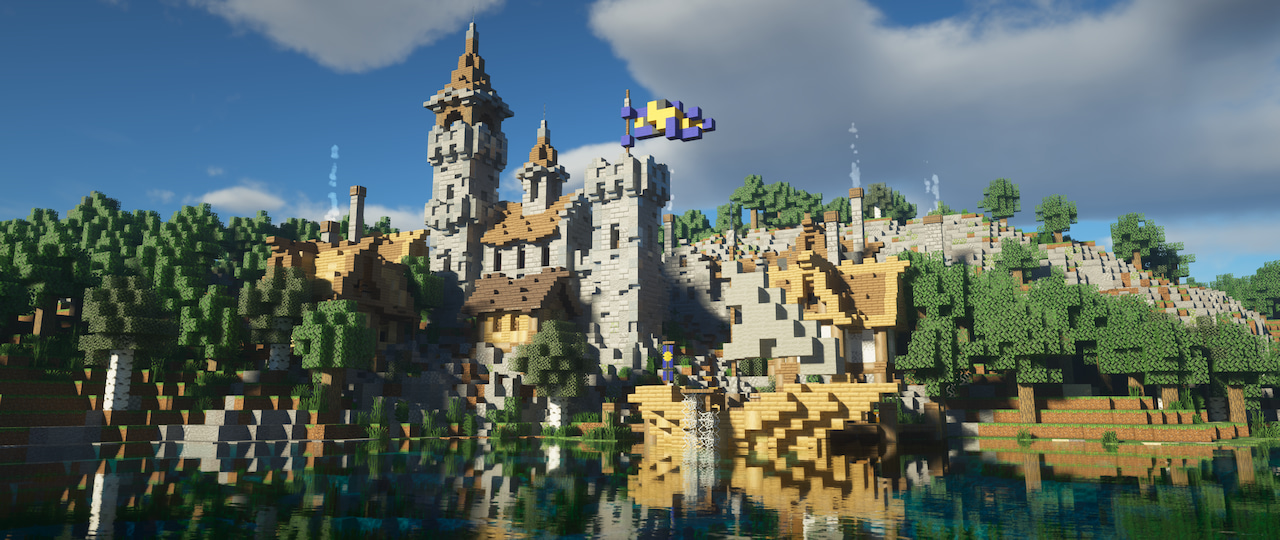
Vanilla
SEUS PTGI by Sonic Ether is a realistic shaderpack that offers path-traced lighting. Everyone's favourite buzzword. (Shot on HRR 3)
BSL
BSL Shaders
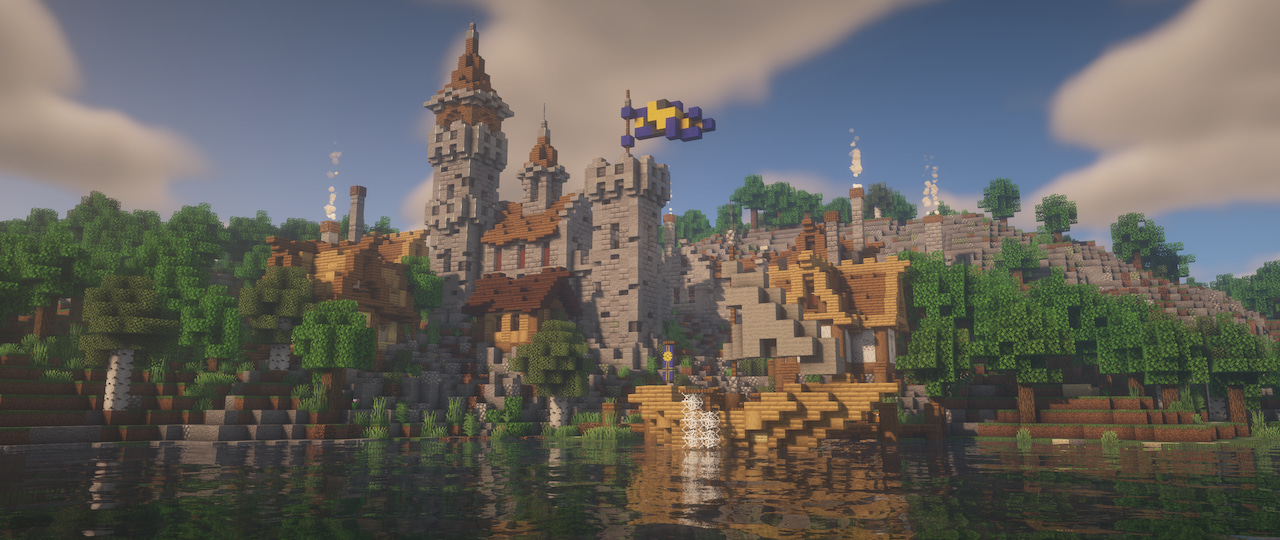
Vanilla
BSL Shaders by capttatsu is a stylised shaderpack offering a wide range of customisations and optimisations. One of the most popular shaders. (Shot on v8.1.02.2)
Project Orian, using Vanilla Normals Renewed, OptiFine 1.18.2 HD U H7.
Visit Shaderlabs for a full, maintained list of all shaderpacks in active development.
Some shaderpacks don't work well with hotsampling past a certain resolution. Always check your captures for artifacts.
Resource Packs
Previously known as texture packs, these replace in-game textures (and sounds, hence the new name). Most shaderpacks support PBR and these resource packs provide the textures to make use of the PBR. Here are some recommendations:
UltimaCraft + PBR Expansion
UltimaCraft
Vanilla
UltimaCraft is an expanded vanilla texturepack with additional PBR support. (Shot on v.1.2)
Patrix
Patrix
Vanilla
Patrix is a fantasy texturepack created with PBR in mind. (Shot on Update 45 32x)
Vanilla Normals Renewed
Vanilla Normals Renewed
Vanilla
Vanilla Normals Renewed is a direct PBR upgrade to the vanilla textures. (Shot on 1.0.4)
using Kappa v4.2, OptiFine 1.18.2 HD U H7.
Browse more resource packs.
Setting up shaders for resource packs
Kappa requires a bit of additional setup to get the resource packs to produce the results above.
With Kappa running, from Shader Options > Terrain > Reflections:
Resourcepack Reflections: ON
Reflection Capture: ON
Roughness Threshold: 0.95
Do check shader options for other shader packs to see if they need any additional configuration to make full use of PBR textures. Their modpages typically will guide you through the additional setup.
ReShade
Do note that ReShade causes some pretty major visual artifacts in the game as of ReShade 5.1.0 and below. Use it at your own risk. How bad could it be?
with ReShade installed
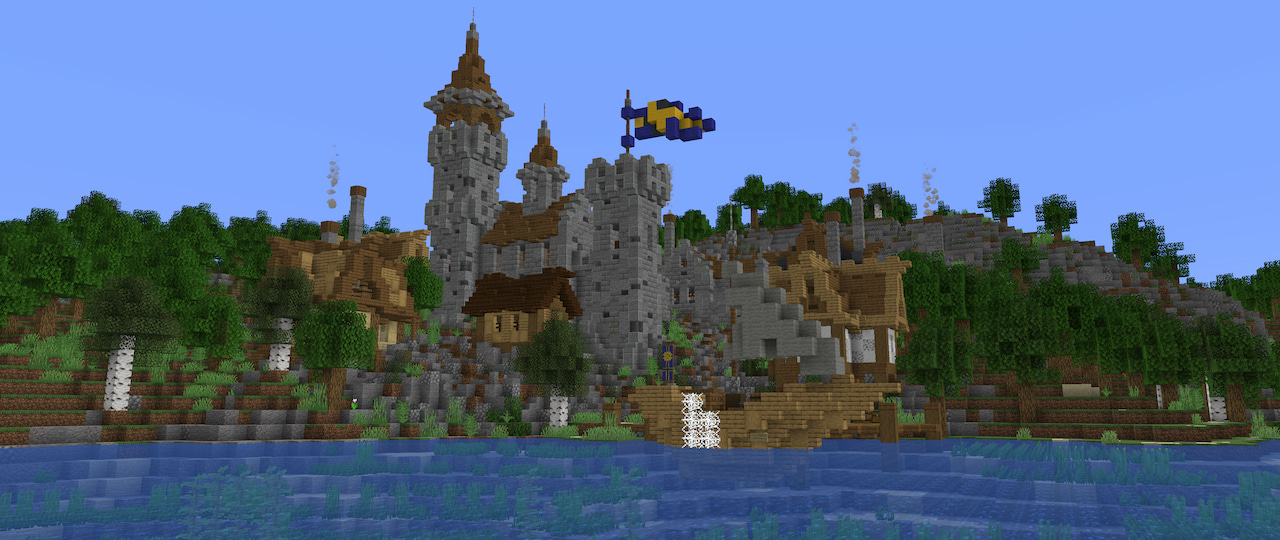
Base game

pretty bad :(
Setting up ReShade for Minecraft is unique, since it uses a runtime executable that isn't immediately obvious and also deletes ReShade files on launch.
-
Locating the executable
The executable is typically found atC:\Program Files (x86)\Minecraft Launcher\runtime\java-runtime-beta\windows-x64\java-runtime-beta\bin. You can also locate this by opening Task Manager while the game is running, right-click on OpenJDK Platform binary and clicking on Open file location. -
Duplicating the executable
In order to stop Minecraft from deleting ReShade files, copy thejava-runtime-betafolder and paste it elsewhere. -
Installing ReShade
Install ReShade as per normal to this new, duplicated folder. Minecraft uses OpenGL, so remember to pick that. -
Getting Minecraft to use the new executable
In the Minecraft Launcher, head to the Installations tab, hover over the...and edit your install. Under More Options, paste in the path to your duplicated runtime folder. End the path with\javaw.exe, the executable Minecraft uses.
Minecraft should now launch with ReShade properly installed.
Depth Buffer
The depth buffer requires a bit of setup before it can be used by depth shaders. In the OpenGL tab (4.9.1 and below) / Add-ons > Generic Depth (5.0+), Copy depth buffer before clear operations has to be ticked. Under Edit global preprocessor definitions, change RESHADE_DEPTH_INPUT_IS_UPSIDE_DOWN to 1.
It seems ReShade cannot reliably grab the right depth buffer upon resolution changes, i.e. hotsampling. It may need to be refreshed by unticking and reticking Copy depth buffer [...] or may even be upside down, forcing you to change RESHADE_DEPTH_INPUT_IS_UPSIDE_DOWN back to 0.
Tips and Tricks
Hotsampling
Minecraft hotsamples normally with SRWE. Look for javaw.exe under Process Name.
If using a large render distance (>32 chunks, possible with OptiFine and other mods), it's recommended to run the game in a smaller resolution to let the chunks load before hotsampling to full resolution. It's also recommended to allocate even more memory to the game (8GB+) when using such a large render distance.
Quick-lower FoV
The OptiFine mod includes a zoom function bound to c by default. You can also use an in-game spyglass, however that drops your FoV by 10x, which may be a bit too much of a zoom.
Exporting a depth buffer
A depth buffer can be exported with the help of a shader. This is handy in the cases where ReShade's introduced artifacts make it inconvenient to capture depth effects (and you know what to do with a depth map). The capture of this depth map is limited to 8-bit, so you might have to adjust your chunk render distance to get a more precise depth capture.
Useful Links
- Console commands (Minecraft Wiki)
- Command generator (MCStacker)
- Minecraft maps (Planet Minecraft)